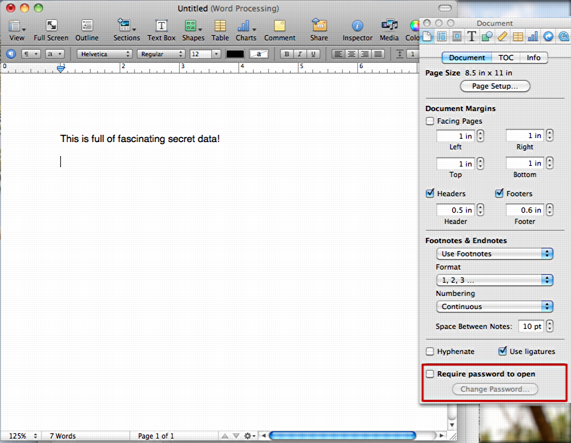
When you're editing a document in Apple's Pages document editing program, open up the Inspector window too, and you'll see something like this:

Let's zoom in a bit on the Inspector window because it's at the bottom that the password feature is visible, though you do have to both click on the document properties (the leftmost option in the Inspector) and notice what's at the very bottom:

Now you can probably do the rest solo, but let me step you through the process of encrypting your pages file anyway.
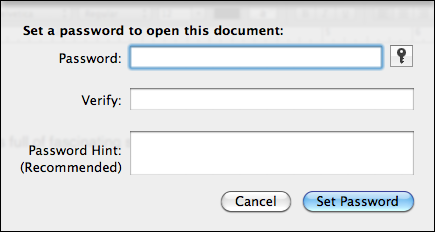
Check the box next to "Require password to open", then click on "Password...", which becomes clickable once you check the box.

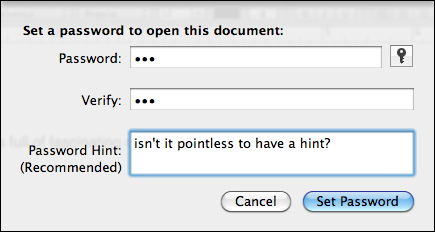
Pretty basic stuff, and easily filled in with your favorite password or with a complex password that's uniquely suited for the document in question:

Click "Set Password" and now if you're eagle-eyed, you'll notice something interesting adjacent to the filename in the main Pages window:

Yup, a simple lock icon shows up to remind you that it's now a password protected Pages document. Handy and simple.
Now when you look at the saved file in the Finder, you'll see there's no preview icon but a lock:

Select it and tap on the space bar and you'll find that - as you'd hope - there's no preview available either:

Finally, double-click on the icon to launch Pages and it prompts you to enter the document password to proceed:

That's how you do it.


No comments:
Post a Comment